Friday, August 31, 2012

52 Weeks of Pinterest

Pinterest is so incredibly addictive... but most of the time, the pins get collected and never used. It really is electronic hoarding. So I've decided to do 52 weeks of Pinterest. Every week, for a year, I will do something/eat something/make something that I've found on Pinterest. If I get really lazy or have a busy week, I may even count buying something I found via Pinterest.


This is also an effort to blog more. My initial thought was that I would do 100 Days of Pinterest... but the reality of me being able to blog every day for 100 days, well, that wasn't a reality at all. Instead I'll tackle one a week.

The Pinterest activity will hopefully be a jumping off point to blog about other random things too. If anyone wants to join me, I would love to have you! A little motivation never hurts.


Wednesday, August 15, 2012

Digital Scrapbooking - Shop Recommendation

This is a completely unsolicited plug for an Etsy shop I came across and love.

Sahlin Studios creates digital scrapbook designs for you to use in putting together your own digital scrapbooks. I love, love, love her work!

If you sign up for the newsletter, you will get a free digital scrapbook kit so that you can try it out and see if you like it.

I bought this Grunge Kit from her recently and made the below page for Marsh Man. It took about 5 minutes in Photoshop - all I did was stick a photo in another layer behind the grunge page, resize it to fit in the window, and add and rotate text in the notes box. Easy!


Here's another one:


I'm planning to make myself a photo book for our coffee table. Fun? Yes.


I enjoy making my own digital images as well, but I don't have the time that I would like to play around with it more. Plus, it's always fun to see what amazing things others have created. Someday I'll get around to posting a few of my own on here.

Sunday, July 29, 2012

Functional Playroom Barrier

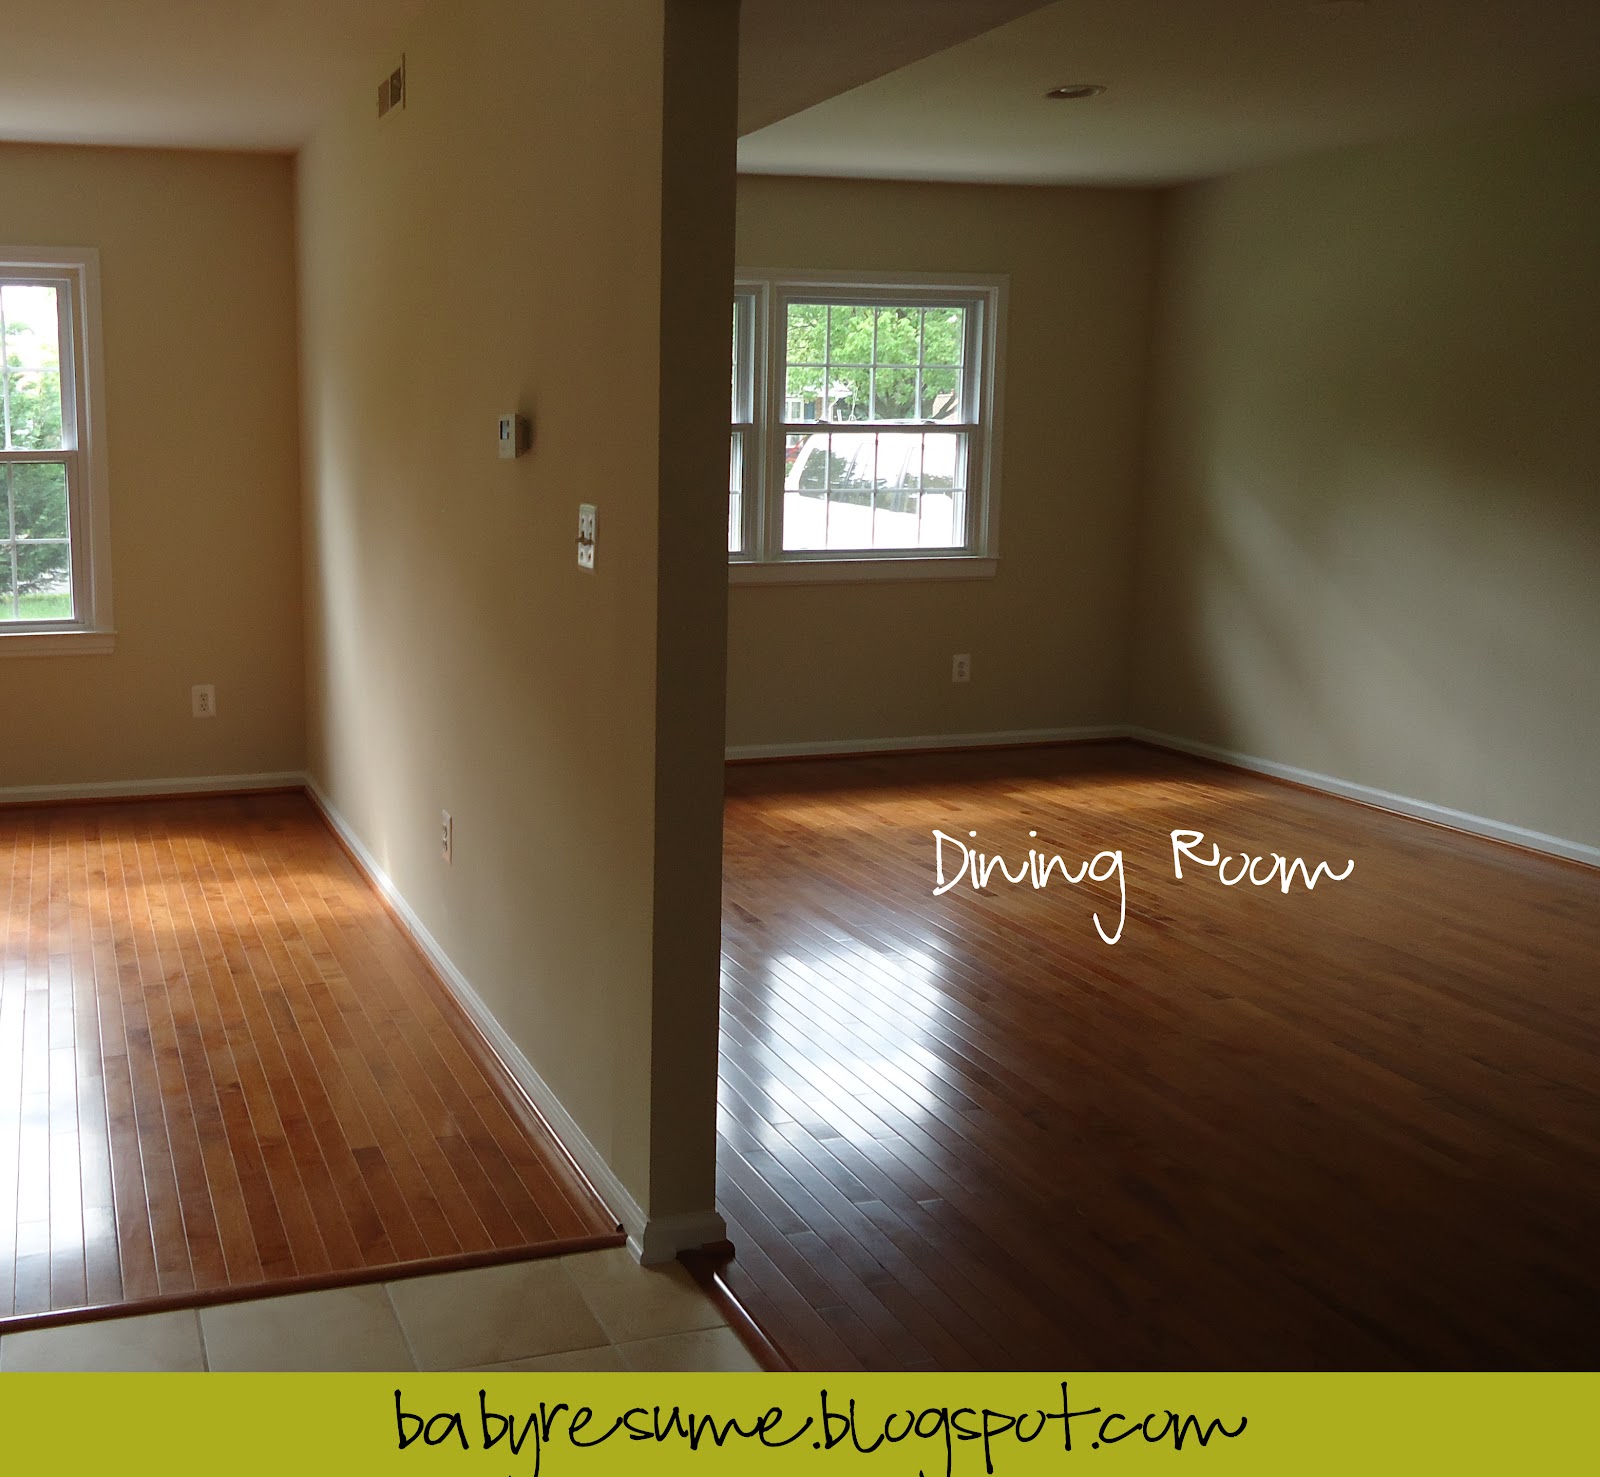
We decided to use the dining room as a playroom for the next few years. Eventually we'll put the playroom in the basement, once our little man can walk up and down the stairs by himself safely. The kitchen has a good view of the dining room, and we don't have a large dining table anyway, so this solution works out nicely for now. The only problem was how to barricade off such an open space.

Looking into the dining room from the kitchen
Looking into the kitchen from the dining room
I know that they make gates that can span this (it's 11' 10"), but they are pretty expensive and don't have many great uses once your kids don't need them anymore. My solution was to buy 2 bookshelves and put a gate between them. This way we would not only have a barricade, but extra toy storage as well - and we could use the bookshelves for other purposes in the future.

I went to Ikea and picked up 2 of the white Expedit double shelves for $69.99/ea.


 Notice anything wrong with this picture?!

I did realize before purchasing the shelves that they didn't have a back to them. However, 2 of these shelves were still cheaper than 1 of a similar shelf from Target, so I figured I could work with it. Preston and I went to Lowes and picked up some marker board to back the shelves. We brought the shelf measurements with us and they cut it for us. The marker board is the perfect thickness to work as a backing, plus it's white, so it looks like it is meant to be a part of the shelves... and the most exciting part - it's marker board! We can have fun writing on it (though Marshall probably won't be allowed to do this until he's old enough to understand that it's marker board and it's not okay to draw on all furniture).

We used some small wire nails to nail the board to the back of the shelves.


...and voila! We have backed shelves. My only disappointment is that I wasn't able to find any contact paper that I loved prior to nailing the board on. We had to get the board up because Marshall started crawling just as this project was kicking off! It's hard to see from this picture, but the back of the marker board is that ugly, fibery brown board. I suppose I could have painted it, but we just moved in and didn't need one more thing to do. Ideally, I would have lined this with contact/shelf paper before nailing the board to the back. When I do find some that I like, I'll have to decide whether to pull the board off, or go through the pain of cutting 16 squares and trying to line them from the inside! Yikes!

The final step in Project Barrier was to install the baby gate.

When I measured the floor space, I knew that this solution would be 1/4 inch too long for the floor space we had. My plan was to cut the quarter round moulding on one side since this is easy enough to replace. Instead, Preston rigged the gate to fit. He used zip ties to hold the gate together and make it 1/4 inch shorter. I was against this at first, but it ended up working quite well. I want to stress here that the only reason I ended up being okay with this is that this gate is only being used as a barrier. If it were being used for safety, such as at the top of the stairs, we would not have taken this shortcut. That said, it is actually very sturdy and I have no concerns that it will shift and pinch Marshall or anything like that.

The finished barrier works quite well and it's nice, useable storage space.

Functional Playroom Barrier


Functional Playroom Barrier

Friday, July 27, 2012

Garden Discovery

This has appeared in our garden.


After some Googling, I figured out that it's Portulacaria Afra, also called Elephant's Food, also (aptly) called Red Stem. I was glad to find that it's not a weed - I think it's pretty. It does apparently get quite large - though it's also grown as bonsai, so it could be trained.

Our front garden has no shade at all, so it needs plants that can hold up to the beating sun and the heat and humidity of the summers here. I think I'll keep this guy around.

Since we just moved into our new house in mid-June, I'm only focusing on the yard basics this summer. Next year I'll have some grander plans for the gardens, etc.

Thursday, March 22, 2012

The Three Day Casserole

In my most alluring, "I'll cook you something if you admit that Pinterest is awesome" voice, I enticed Preston to peruse my Nom Nom Nom Pinterest board and choose a recipe that he wanted me to make. He chose this: Cheesy Chicken and Wild Rice Casserole from Picky Palate. Awesome choice.

Only...

It.
took.
three.
days.
to.
make.
it.
happen.

Don't worry, it won't take you 3 days to make it (if it does, it's your own fault - just like this was my fault). Though I will warn you that when I got down to cooking, it did take a long time to actually make this. Preston joined in and it took us 2.5 hours and 1 bottle of wine. Somewhere in the midst of it, we both agreed that this was not at all worth it and we would never make it again... but that was before we tasted it.

Day 1: Grocery store trip to get all the ingredients. Initial excitement at the idea of another successful kitchen venture wearing off after a long night of trying to cut out one of Baby M's night time feedings, and a long, busy day at work. Got home to discover I only had half the things I needed. (When exactly does Pregnancy Brain wear off?!) Definitely didn't have the energy to head back to the store; conceded defeat and heated up leftovers.

Day 2: Stopped at the grocery store on the way home from picking up Baby M at daycare. Didn't think in advance about the fact that we just switched M out of his infant car seat and I would have to carry him around the grocery store (he can't sit up in a cart yet!). Grabbed what I needed with my right hand while trying to keep a sleepy baby upright with my left. Tried not to cry in the checkout line when Baby M decided to balance himself by grabbing a huge wad of my hair.

Started cooking at 7; realized around 7:01 that I should have pre-cooked the rice; let Preston join in at 7:15 (after putting M to bed); poured wine around 7:16; caved in and had sandwiches for dinner around 8; finished the bottle of wine around 9; finally finished the casserole at 9:30, crashed on the couch and watched "Top Gear" while letting the casserole cool; wrapped up the casserole, stuck it in the fridge, looked at the dishes piled in the sink and the rice, flour, and cheese on the counters and floor, sighed and went to bed at 10.

Day 3: Today. Rejuvenated casserole excitement due to its already prepared status. Tossed casserole in the oven for 10 minutes at 350 per the recipe. Realized 10 minutes later that the instructions were meant to immediately follow preparation of the casserole. Stuck cold casserole back in the oven for another 15 minutes. Enjoyed the actually-quite-delicious and well-worth-the-wait casserole.

While the end product was delicious, I'm going to consider this one a loss since I left it feeling frustrated and disheartened with this whole cooking thing. My next attempt will have to be a guaranteed "easy" recipe!

Before the Oven

The Finished Product

Delicious!